
My homelab has been growing one inexpensive computer at a time. The hardware is useful, but a collection of mini PCs, power adapters, and Ethernet cables can turn into a messy pile surprisingly quickly. Labrax is my attempt to give those systems a compact, organized home.
For step one, I’m focusing on the physical rack: assembling the frame, trying out the printed shelves, and seeing how much equipment I can realistically fit before I start worrying about the software.
The frame comes together#
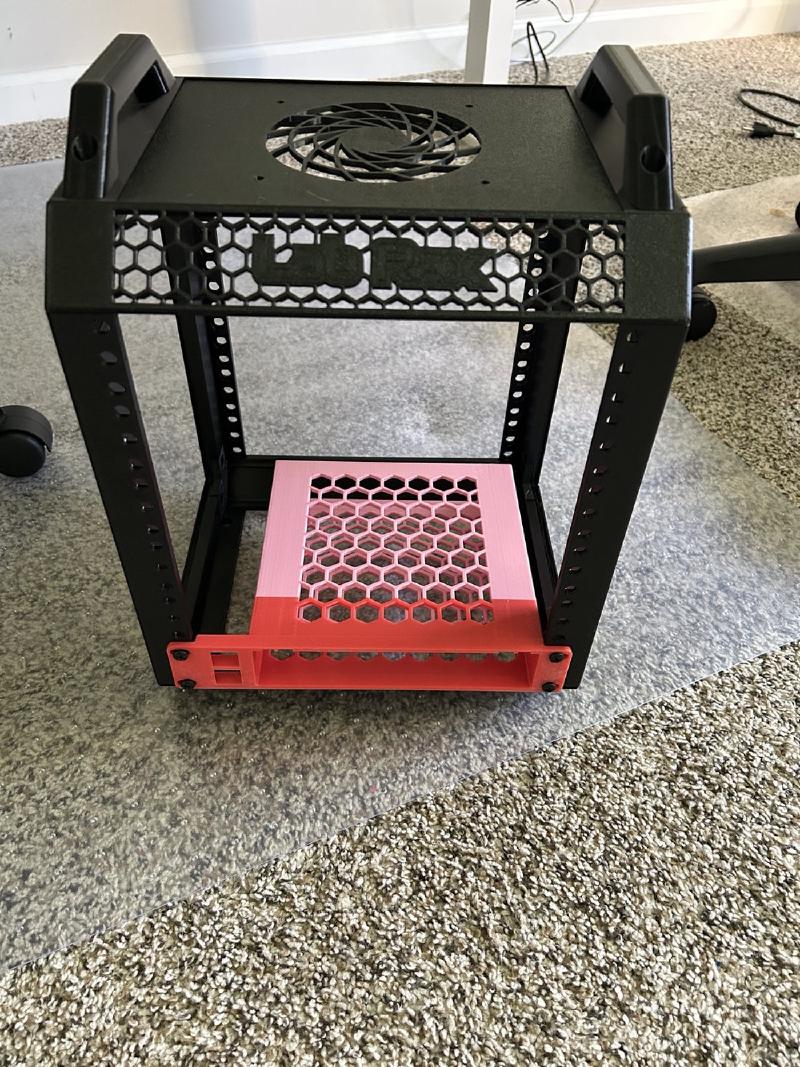
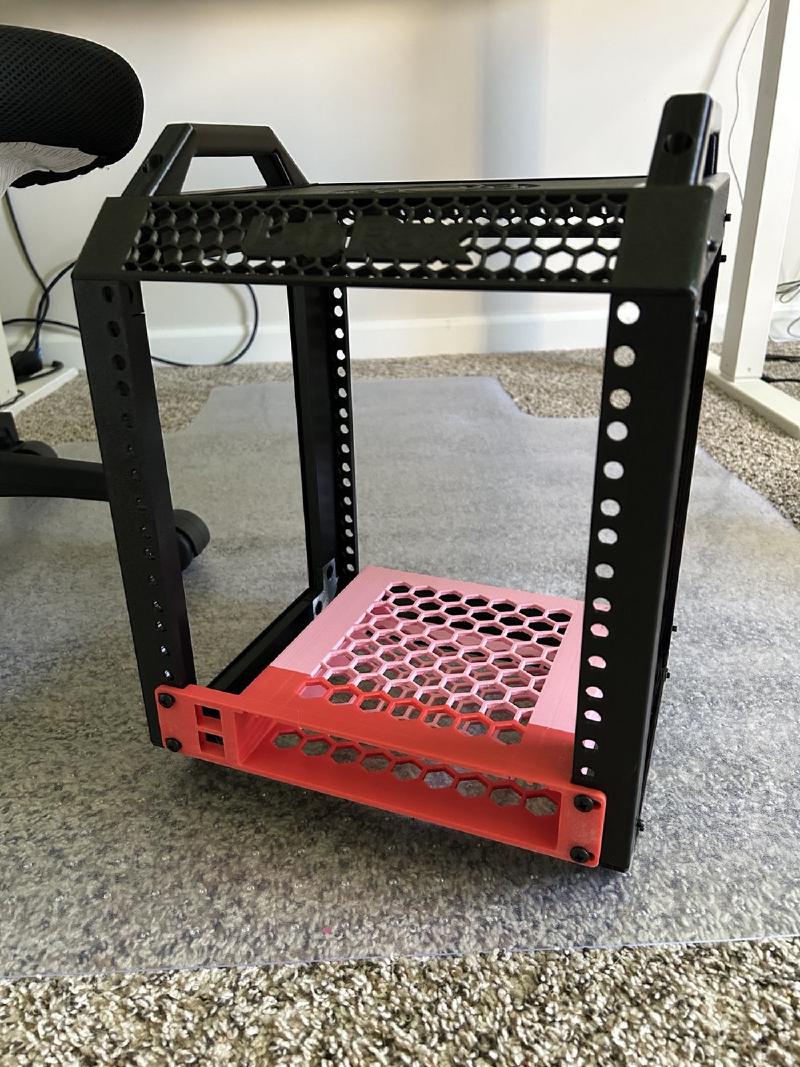
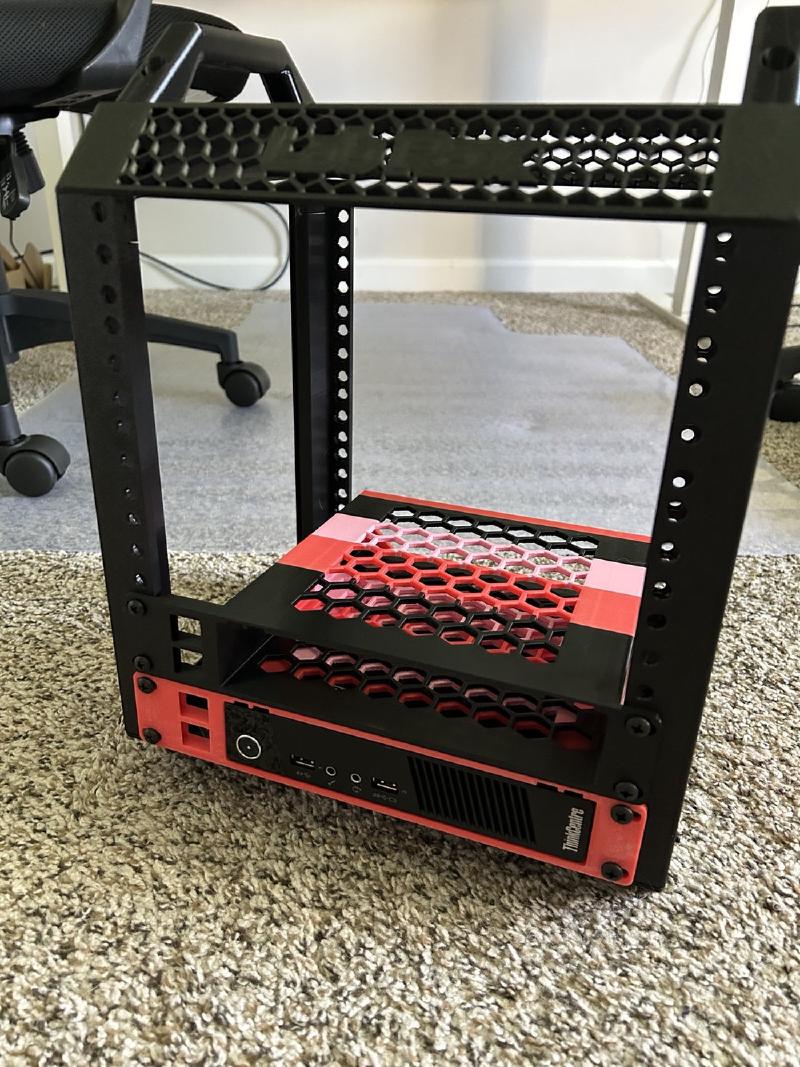
The rack uses a black, open frame with upright mounting rails and a top panel. That top panel includes a circular opening for a potential cooling fan, which should be useful once several machines are running close together. The open sides also leave plenty of room to access cables and rearrange hardware as the layout changes.
Rather than committing to permanent mounting positions right away, I’m treating this first stage as a fit test. It is easier to shift a shelf now than to discover later that a power connector or cable cannot be reached.
Printed shelves and airflow#
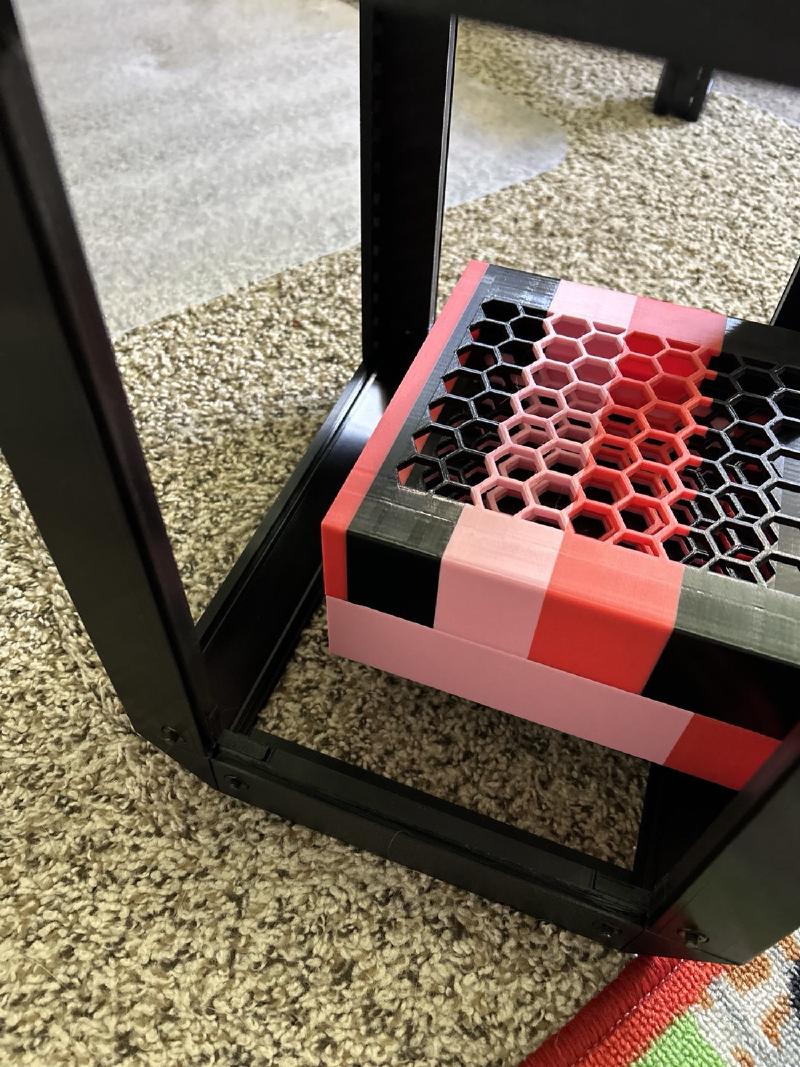
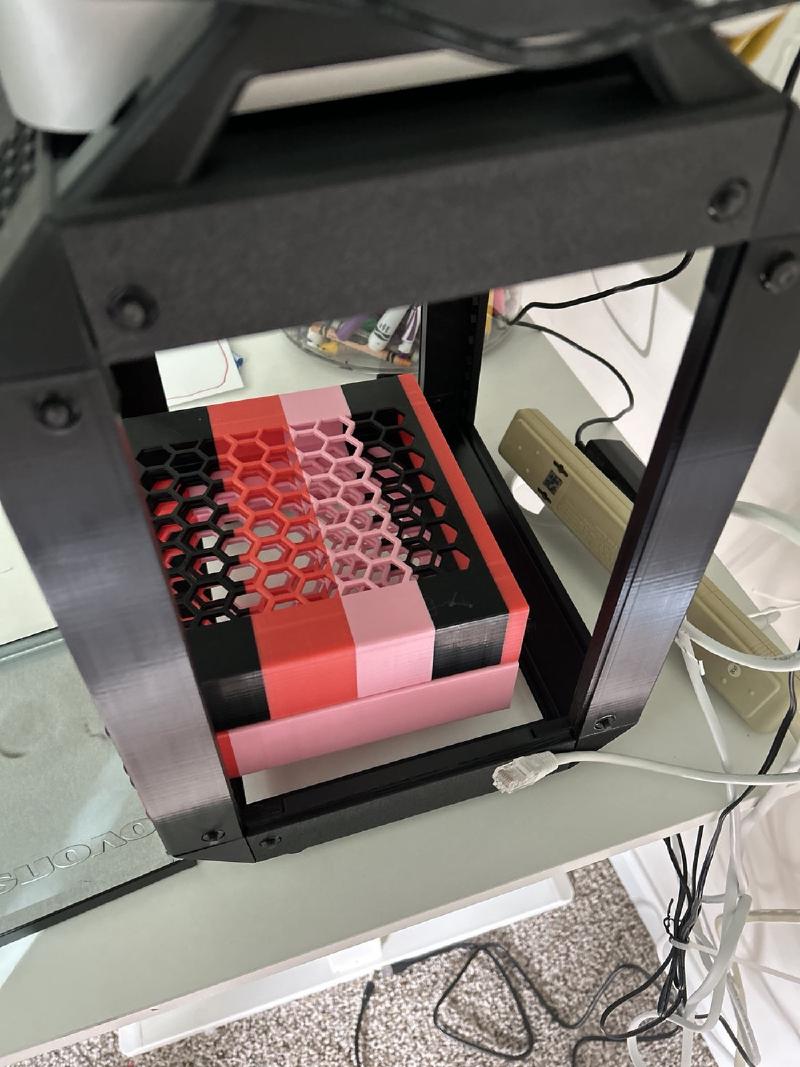
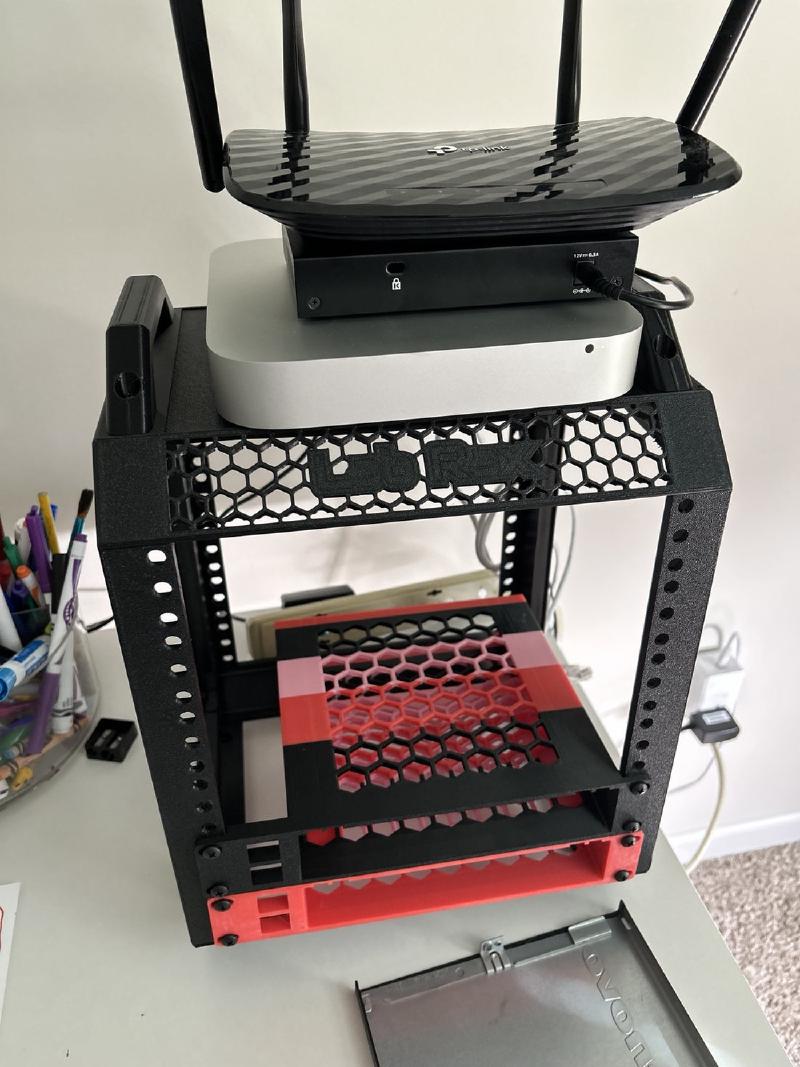
The red, black, and pink printed parts make the construction particularly easy to see in these early photos. The honeycomb pattern provides an open platform for small systems without turning each shelf into a solid barrier to airflow.
I’m still experimenting with shelf positions and clearances. Besides fitting the computers themselves, I need to leave enough space for their power plugs, Ethernet connections, and the air they need for cooling.
The first hardware test fits#
One of the main goals is to put older, inexpensive mini PCs to work instead of letting them sit unused. The Lenovo ThinkCentre Tiny is a natural starting point: its size makes it a good candidate for a compact stack, and this first test fit shows how a machine can sit behind a printed front mount.
I also tried the overall layout with a Mac mini and TP-Link router resting on top of the rack. These pictures are early experiments, not the final equipment layout. The point is to work out where everything belongs before routing cables and adding more systems.
What’s next for Labrax?#
Now that the basic frame is taking shape, the next steps are to refine the mounts, plan the power and network cable runs, and check whether additional airflow is necessary. From there I can move toward installing and organizing the Ubuntu Server machines and the Docker services they will host.
This isn’t meant to be an expensive, polished commercial rack. The appeal is that Labrax can grow alongside the homelab, using older hardware and printed parts that I can change as I learn what works.
Step 1 is the physical foundation. The fun part will be putting the machines to work.